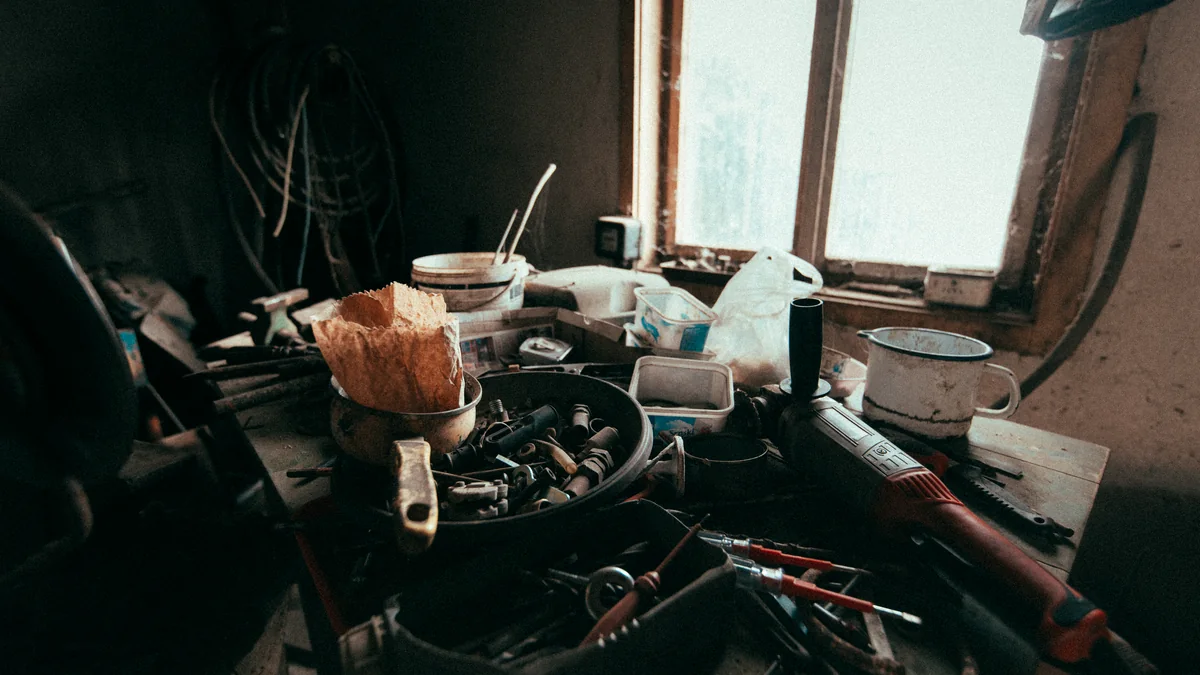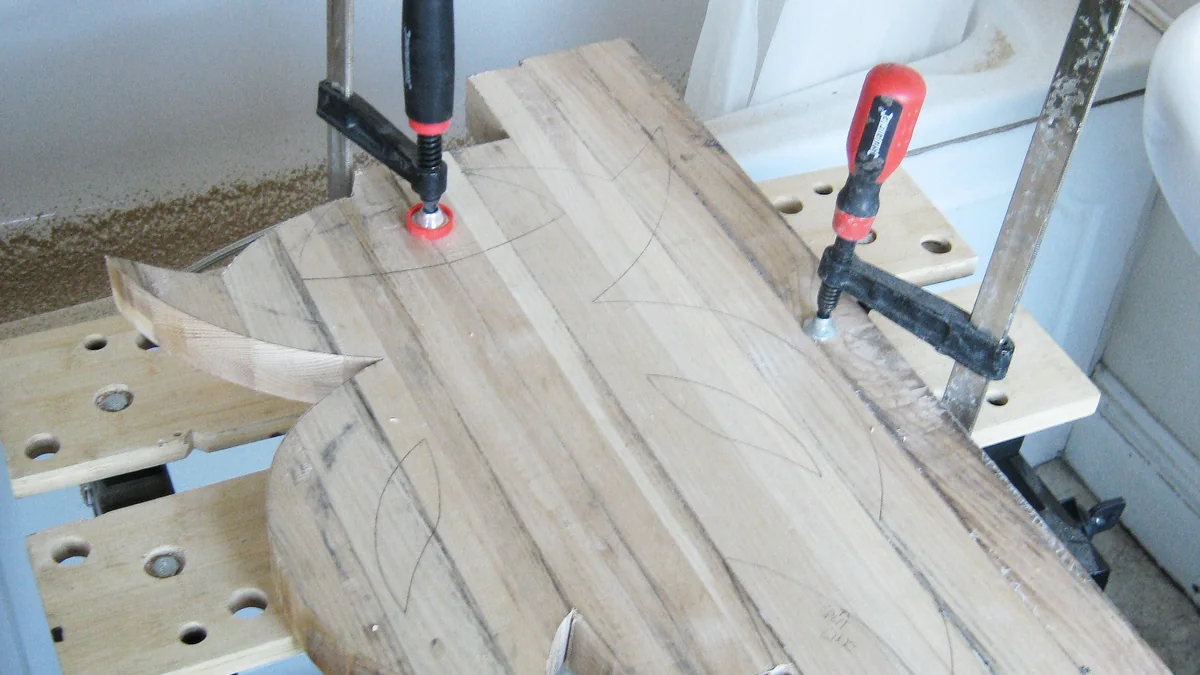
Budget DIY does not have to look like a compromise. The projects that look cheap usually fail in the details: rough cuts, messy paint, flimsy hardware, visible cords, crooked shelves, or colors that fight the room. A small project can look polished when it solves a real problem and gets finished cleanly.
The goal is not to fake an expensive remodel. It is to make your home work better with smart, affordable changes. If you are new to this, start with our beginner-friendly DIY guide and then use this list to make the results feel more intentional.
Paint One Defined Area
Painting an entire house can be expensive and exhausting. Painting one defined area can still change the feel of a room. Try a bathroom vanity, a door, a small entry wall, built-ins, or tired trim. The smaller the area, the more important prep becomes.
Clean the surface, patch holes, sand rough spots, use primer when needed, and choose a finish that fits the room. Paint looks cheap when it is rushed.
Upgrade Hardware With Restraint
Cabinet pulls, door handles, hooks, and switch plates can make old spaces feel more current. The trick is consistency. Do not mix five metal finishes because each piece was on sale. Choose one simple direction and repeat it.
Measure existing holes before buying cabinet hardware. A bargain stops being a bargain if every drawer needs filling, sanding, drilling, and repainting.
Build Storage That Looks Built-In
Budget storage looks better when it fits the wall, clears the floor, and has a purpose. Simple shelves, peg rails, entry hooks, laundry baskets, and labeled bins can make a room feel calmer quickly.
Avoid overloading shelves with decor. Leave breathing room. Useful storage should make the room easier to live in, not create one more surface to dust.
Improve Lighting Before Buying Decor
Bad lighting makes even nice rooms look tired. Try warmer bulbs, matching lamp shades, under-cabinet lighting, or a better floor lamp before buying more accessories. Light changes how colors, textures, and corners feel.
Use fixtures safely and follow manufacturer instructions. If wiring is involved and you are not qualified, hire help.
Hide the Messy Transitions
Caulk lines, cord paths, exposed screws, uneven edges, and unfinished trim are what make DIY look unfinished. Spend time on transitions. Use paintable caulk where appropriate, cable channels for visible cords, and proper anchors for wall-mounted pieces.
A cheap shelf installed straight with clean edges looks better than an expensive shelf hung crooked.
Choose Fewer, Better Materials
Budget projects go sideways when you buy too many low-quality pieces. One sturdy bench, one good mirror, or one solid shelf can do more than a pile of small decorative items.
For general project ideas and repair basics, resources like This Old House and Family Handyman can help you understand techniques before you start.
Budget DIY Finish Checklist
- Prep surfaces before painting.
- Measure hardware holes before buying replacements.
- Use sturdy anchors and level shelves carefully.
- Fix lighting before adding more decor.
- Finish edges, cords, holes, and caulk lines.
Cheap Is Fine, Unfinished Is Not
Budget DIY looks good when it is specific, useful, and finished. Spend less on trends, more attention on details, and choose projects that make daily life easier.
Use Repetition to Make Cheap Materials Look Intentional
One inexpensive hook can look random. Six matching hooks installed evenly can look planned. Repetition helps budget materials feel intentional because the eye reads them as a system instead of leftovers.
This works with frames, baskets, shelves, cabinet pulls, storage bins, and small lights. Buy fewer types and repeat the ones that work.
Spend on the Touch Points
Touch points are the parts people physically use: handles, knobs, switches, faucets, hooks, drawer slides, and seating. These are worth a little more because cheap touch points feel cheap every day.
You can save on decorative items around them. A modest cabinet can feel better with solid hardware, but nice decor will not save a drawer pull that bends in your hand.
Leave One Wall Alone
Budget DIY often goes wrong when every surface gets a treatment. One accent, one shelf zone, or one painted piece can be enough. Let the room breathe.
A restrained project looks more expensive because it seems edited. Too many small upgrades at once can make a room feel busy, even if every individual idea was fine.
The Difference Between Simple and Unfinished
Simple DIY can look excellent. Unfinished DIY looks cheap. The difference is usually patience at the end: filling holes, touching up paint, straightening hardware, trimming edges, and cleaning the work area before judging the result. Budget projects deserve finished details because those details are what make guests assume the project cost more than it did.
Choose One Finish Level and Stick With It
Budget projects look cheap when the finish level changes from corner to corner. One shelf is stained, another is raw, hardware does not match, paint edges are rough, and the room starts to feel pieced together. Decide the finish level before you start.
This does not mean everything must be expensive. It means the choices should look intentional. Matching screws, clean lines, even spacing, and a consistent color can make inexpensive materials look planned.
Upgrade Lighting Temperature
A room can look unfinished simply because the bulbs are wrong. Mixing blue-white bulbs with warm bulbs makes even good paint and furniture look strange. Choose one color temperature for the room and replace mismatched bulbs.
Lighting is one of the cheapest ways to make DIY look better. Lamps, under-cabinet lights, picture lights, and better bulbs can make simple projects feel more polished without major construction.
Hide the Messy Parts on Purpose
Budget DIY often leaves visible cords, uneven storage, exposed supplies, or random bins that make the whole room feel unfinished. Build a small plan for what people will actually see when they walk in.
Cable clips, baskets, painted cord covers, matching containers, and a single closed cabinet can do more for the final look than another decorative item.
Finish With a Repair Walkthrough
Before calling a DIY project done, walk through with fresh eyes. Look for nail holes, crooked hardware, paint bleed, rough sanding, gaps, wobble, and dusty surfaces. These small flaws are what make a budget project look rushed.
Set aside one final hour for fixes. That hour often matters more than the first hour because it turns a project from homemade into finished.
Use Better Caulk, Tape, and Prep Supplies
The cheap-looking part of many DIY projects is not the visible material. It is the messy edge. Better painter's tape, the right caulk, a clean brush, primer where needed, and enough drying time can make modest materials look much more polished.
Prep supplies feel boring in the cart, but they show up in the result. A crisp line and a smooth surface make a budget project look deliberate.
Repeat the Best Detail Somewhere Else
A budget upgrade looks more finished when one good detail repeats. If you add black hooks by the door, repeat black hardware on a nearby shelf. If you use warm wood baskets, echo that tone in a frame or tray.
Repeating one detail connects the project to the room. It keeps the finished space from looking like a single random idea stuck onto an otherwise unchanged wall.